Linux Agent
The Linux Agent is a service provided by Cloudhouse Guardian (Guardian) for the Agent-based scanning of non-Windows nodes. The following topic describes how to download, install, and configure the Linux Agent directly on a node. For more information about Agent nodes, see Guardian Agent.
Tip: Agents and Connection Managers are comprised of the same software; the difference between the two services is defined by how that software is deployed on the node. As a result, some Agent-specific functionality may display references to Connection Managers.
System Requirements
To install the Linux Agent, the following system requirements must be met:
| Requirement | Description |
|---|---|
| Linux Connection Manager Appliance |
Recommended specifications: 4GB, 2 Core. |
| Public SSH Key | Each target node must have the public SSH key added for key‑based scanning. |
| HTTPS Port 443 | Must be able to reach the Guardian instance over this port. |
| SSH Port 22 |
Must be able to reach SSH nodes over this port. Note: This is the default port. If you are using a different port, make sure that the Connection Manager can reach the port that the administrator is using to run their SSH server. |
Note: If you do not meet any of the requirements described above, please contact your Cloudhouse Representative for assistance.
Supported Hosts
You are responsible for managing the host you choose for the Linux Agent. Prior to commencing the installation, you must ensure that the networking configuration has been completed and your host of choice is able to communicate with the hostname of your Guardian server.
The following operating systems are supported for hosting this Agent type:
- Amazon Linux2.
- Debian.
- Ubuntu.
- RedHat.
- CentOS.
- Rocky Linux.
- AlmaLinux.
- CloudLinux.
- Amazon Linux.
- SUSE.
- Fedora.
- Oracle Linux.
Note: If you require an alternative host that is not outlined above, please contact your Cloudhouse Representative.
Deployment
First, you need to access the Agent installation page and decide on your deployment method. For a Linux Agent, you can choose to install the software via a script or installer, see below for more information.
-
In the Guardian web application, navigate to the Add Nodes tab (
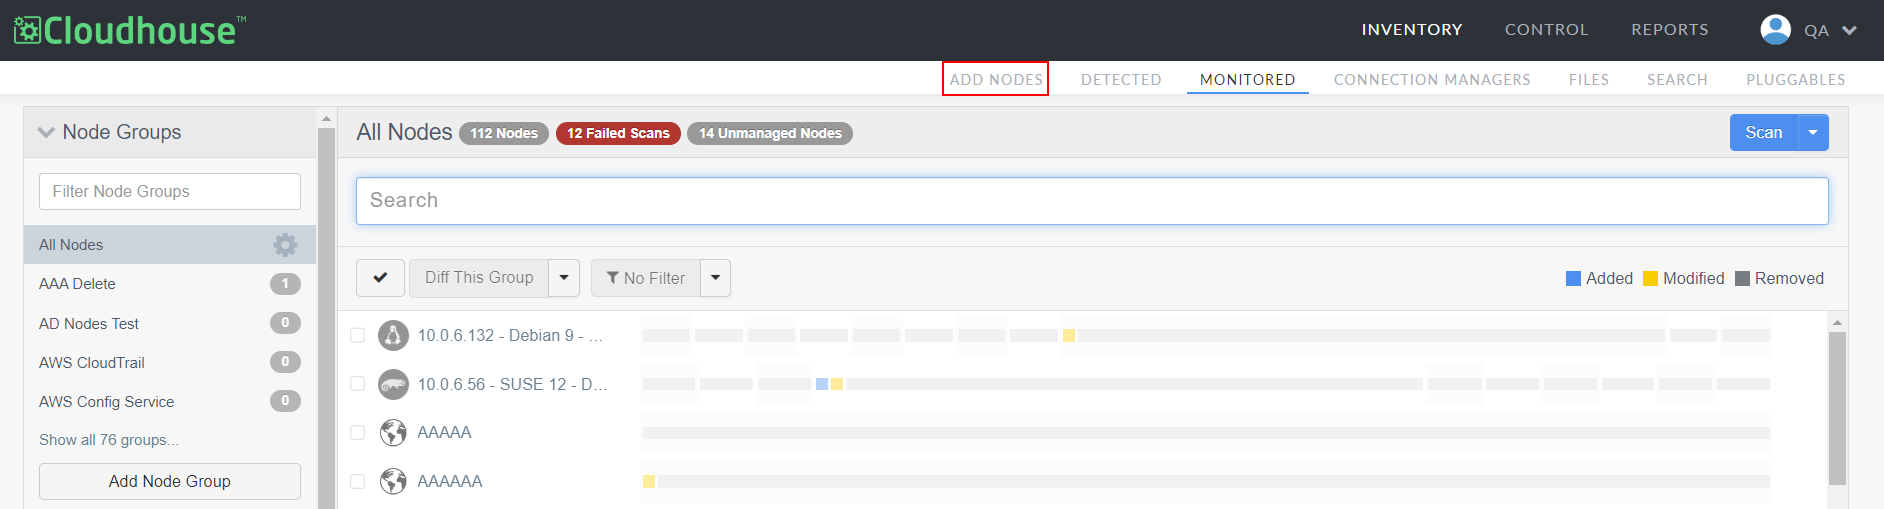
-
Type 'Linux' into the search bar. The supported Linux hosts are displayed.
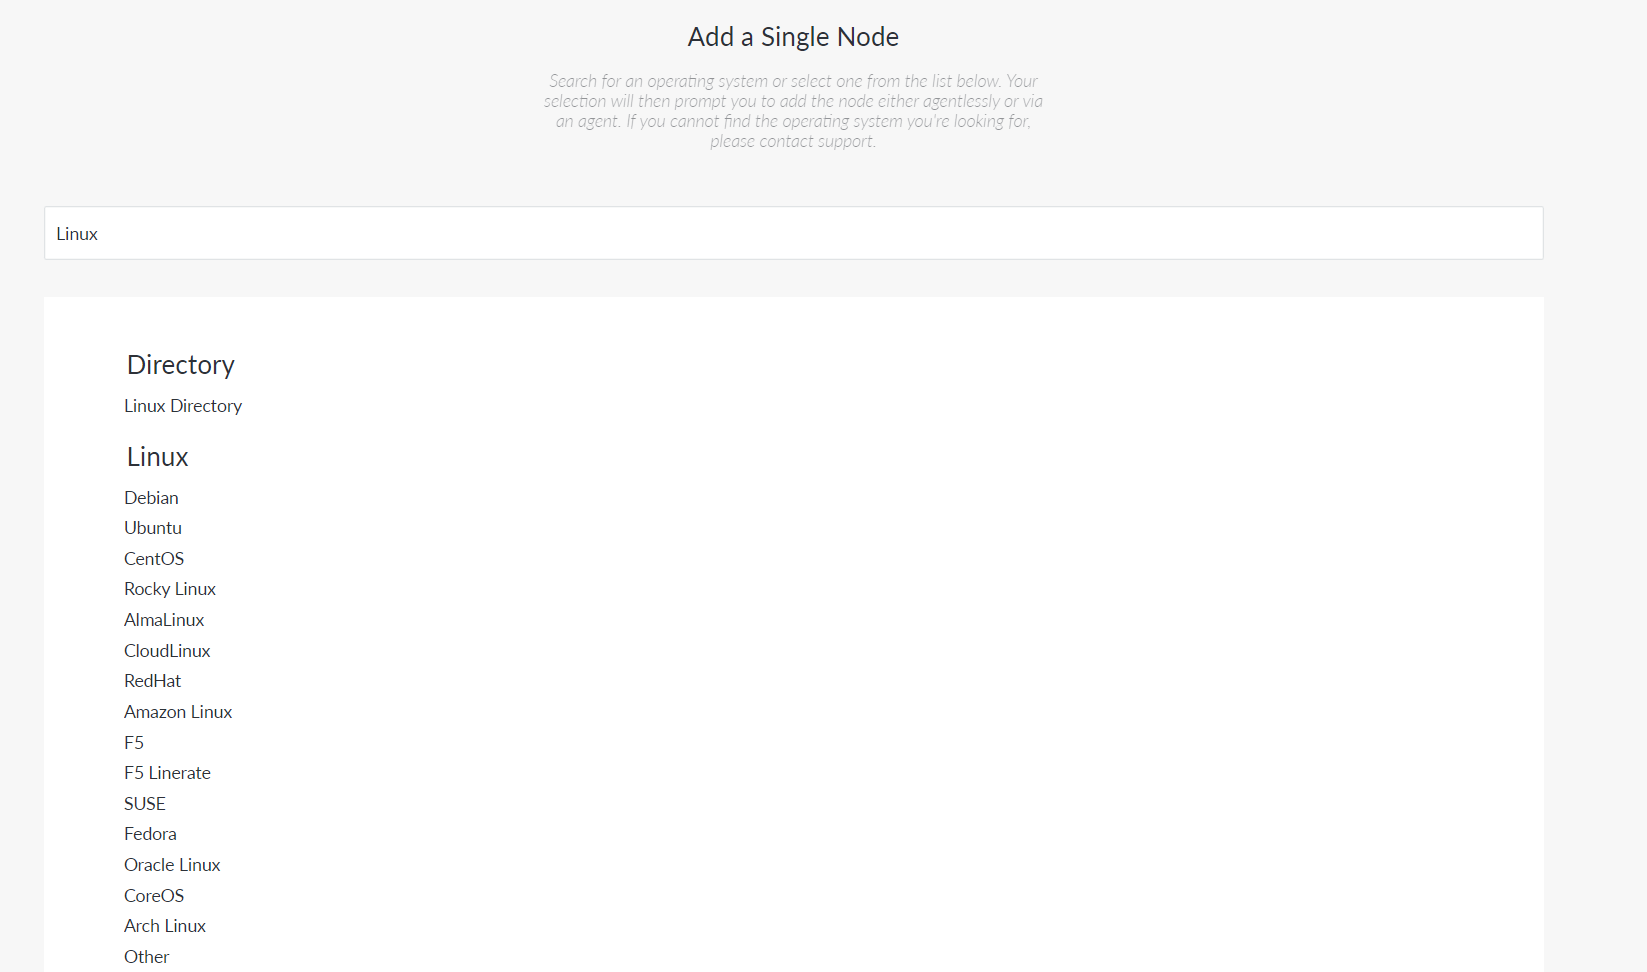
-
Select the operating system you plan to host the Guardian Agent on, then click to Use Agent. The Install Agent for [Server] page is displayed.
-
Here, the following deployment methods are displayed:
-
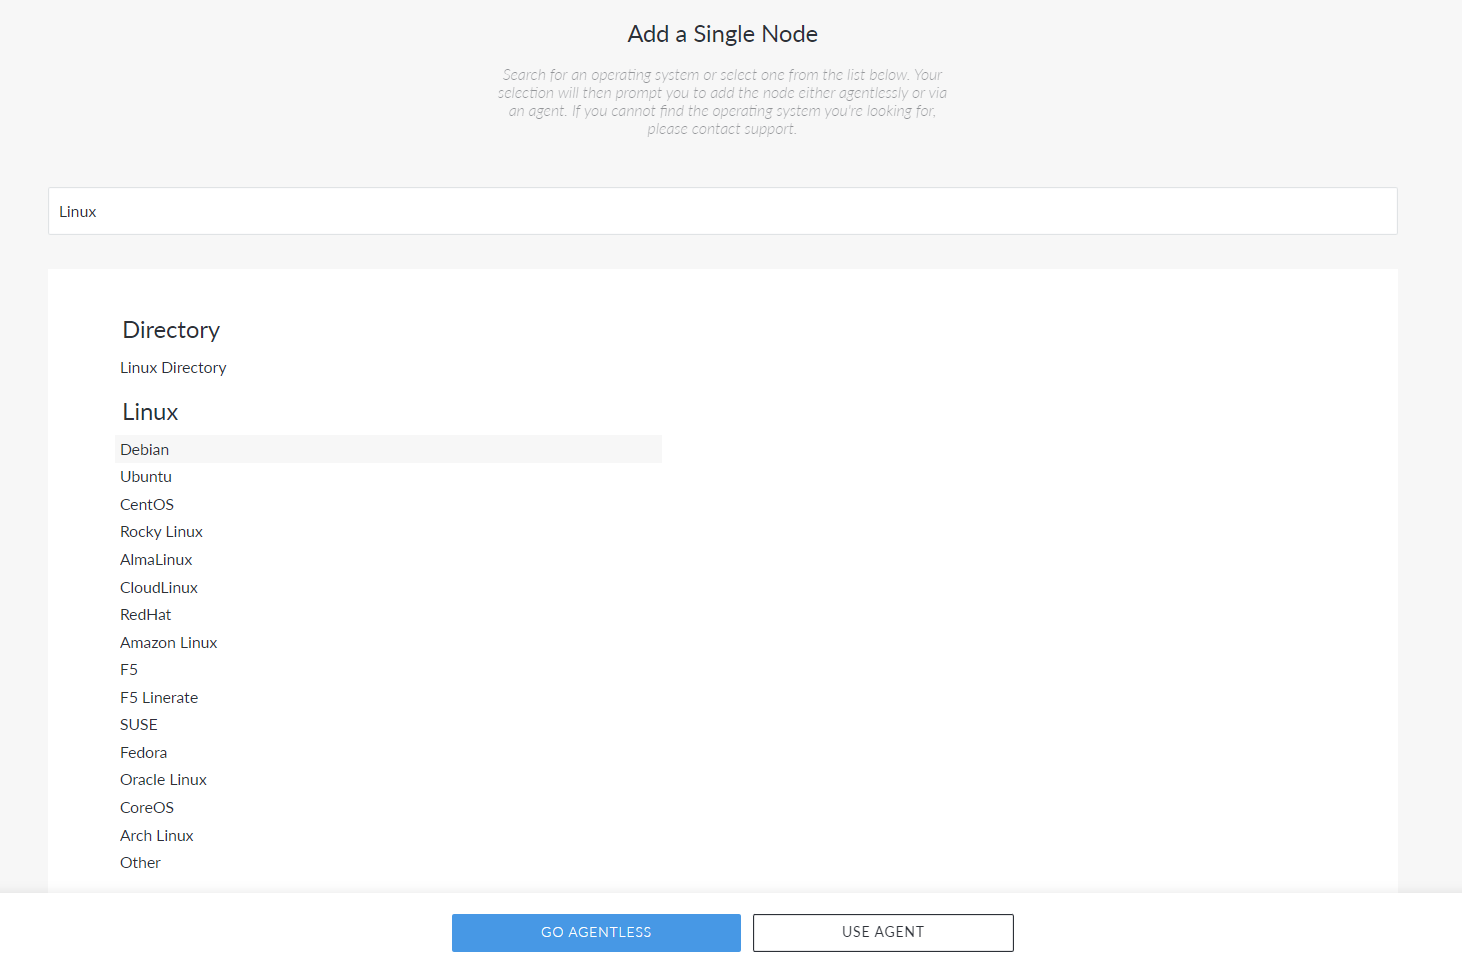
Run this script – Install and register the Agent to your Guardian instance via the script provided. For more information, see Install Agent via Script.
-
Download Agent – Install and register the Agent via the Guardian Agent Installer. For more information, see Install Agent via Installer.
Depending on what deployment method you choose, the steps required to install and register the Agent to your Guardian instance will vary.
-
-
Navigate to the section for your deployment method below.
Install Agent via Script
Installing the Agent via the script provided will automatically download, install, and register the Agent to your Guardian instance. This method requires no manual configuration as the values are automatically set, according to your organization.
Note: The following process assumes that you have cURL installed on your device. This software is required to run the command line installation script.
-
On the Install Agent for [Server] page, copy the script displayed in the Run this script section.
-
Log into the node you want to install the Agent on.
-
Then, run the script in a terminal window on the node. The script will automatically download, install, and register the Agent to your Guardian instance. Once the script has been run, the Agent will start in daemon mode.
Note: The Agent is installed on the node and configured to scan daily.
-
Click Scan Node to trigger the initial scan.
The Agent node is scanned and displayed in the Monitored tab (Inventory > Monitored) of your Guardian instance. Here, you can access the results of the first node scan and begin to organize your node into node groups. For more information, see Node Groups.
Install Agent via Installer
To install the Agent via the installer, you are required to download the Agent package from the Guardian Application Downloads page, install it, and then manually register the Agent with your Guardian server.
-
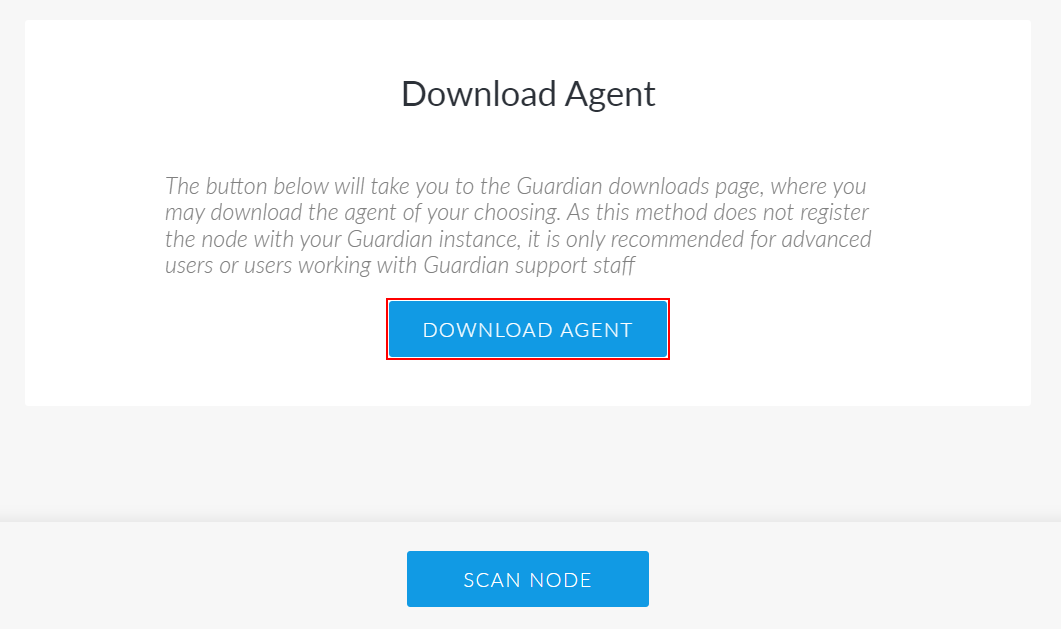
On the Install Agent for [Server] page, click the Download Agent button. The Guardian Application Downloads page is displayed.
-
In the Agents panel, click the Download Link for the Agent package that corresponds with the operating system you plan to host with. For example, 'Ubuntu/Debian'.

-
Save the Agent package to the target node. Then, using
sudo, run the install command for the operating system you are using to host the Agent. For example:Copysudo apt install <agent-package-filename>.deb -
Next, you need to register the Agent with the Guardian server. Run the following command, replacing the command line options with the correct values:
Copysudo guardrail_agent register --noprompt --config_dir /etc/scriptrock/ --connect_url <guardrail_site> --api_key <api_key>-
<guardrail_site>– The URL of your Guardian server. For example, 'https://guardian-test.cloudhouse.com/'. -
<api_key>– The 64 character hexadecimal string shown in the 'Run this script' field of the Install Agent via Script process. For example, '5ff0a261f3fbd3b4cbbaae46177467fa90b81f942352474ecfc249b3ac783077'.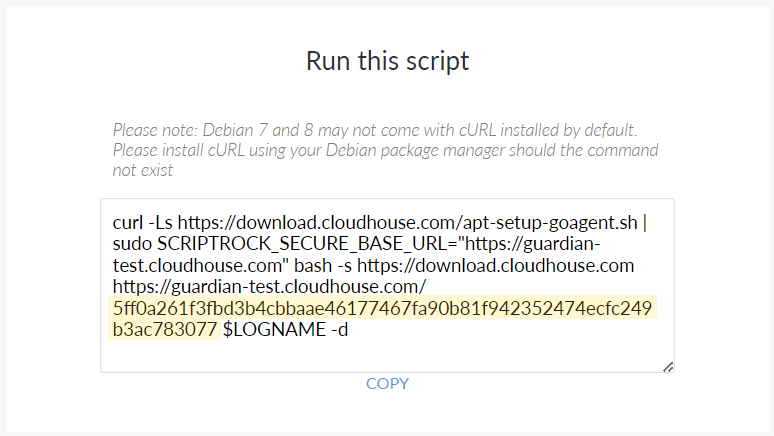
Note: If the correct values were set, the Agent is installed on the node, registered to your Guardian instance, and configured to scan daily.
-
-
Click Scan Node to trigger the initial scan.
The Agent node is scanned and displayed in the Monitored tab of your Guardian instance. Here, you can access the results of the first node scan and begin to organize your node into node groups. For more information, see Node Groups.
Post-Deployment
Once the Agent has been deployed, you can update or uninstall it by following the procedures described below.
Update
To update the Linux Agent, you can install a new version via the same process. The new version will be available to download from the Guardian Application Downloads page.
Uninstall
To uninstall the Linux Agent, follow the instructions below based on your system type.
RPM-Based Systems
If you installed the Agent using an RPM package, for example, on RedHat, CentOS, Fedora, or Oracle Linux, follow the steps below to uninstall it.
-
Stop the Guardian Agent service from running, using the following
sudocommand.Copysudo systemctl stop guardrail-agent -
Disable the service from starting on boot using the following
sudocommand.Copysudo systemctl disable guardrail-agent -
Check if the Agent package is installed using the following
rpmcommand.Tip: If the output includes
scriptrock-guardrail-agent, the Agent is still installed.Copyrpm -qa | grep guard -
Remove the package from the system using the following
sudo rpmcommand.Copysudo rpm -e scriptrock-guardrail-agent -
Verify that the package has been removed using the following
rpmcommand.Copyrpm -qa | grep guard
If no output is displayed in the response, the Linux Agent has been successfully uninstalled.
APT-Based Systems
If you installed the Agent using an APT package, for example, on Ubuntu, Debian, or Linux Mint, follow the steps below to uninstall it.
-
Stop the Guardian Agent service from running, using the following
sudocommand.Copysudo systemctl stop guardrail-agent -
Disable the service from starting on boot using the following
sudocommand.Copysudo systemctl disable guardrail-agent -
Check if the Agent package is installed.
Tip: If the output includes
scriptrock-guardrail-agent, the Agent is still installed.Copyapt list --installed | grep guard -
Remove the package from the system using the following
sudo aptcommand.Copysudo apt remove scriptrock-guardrail-agent -
Verify that the package has been removed using the following
aptcommand.Copyapt list --installed | grep guard
If no output is displayed in the response, the Linux Agent has been successfully uninstalled.